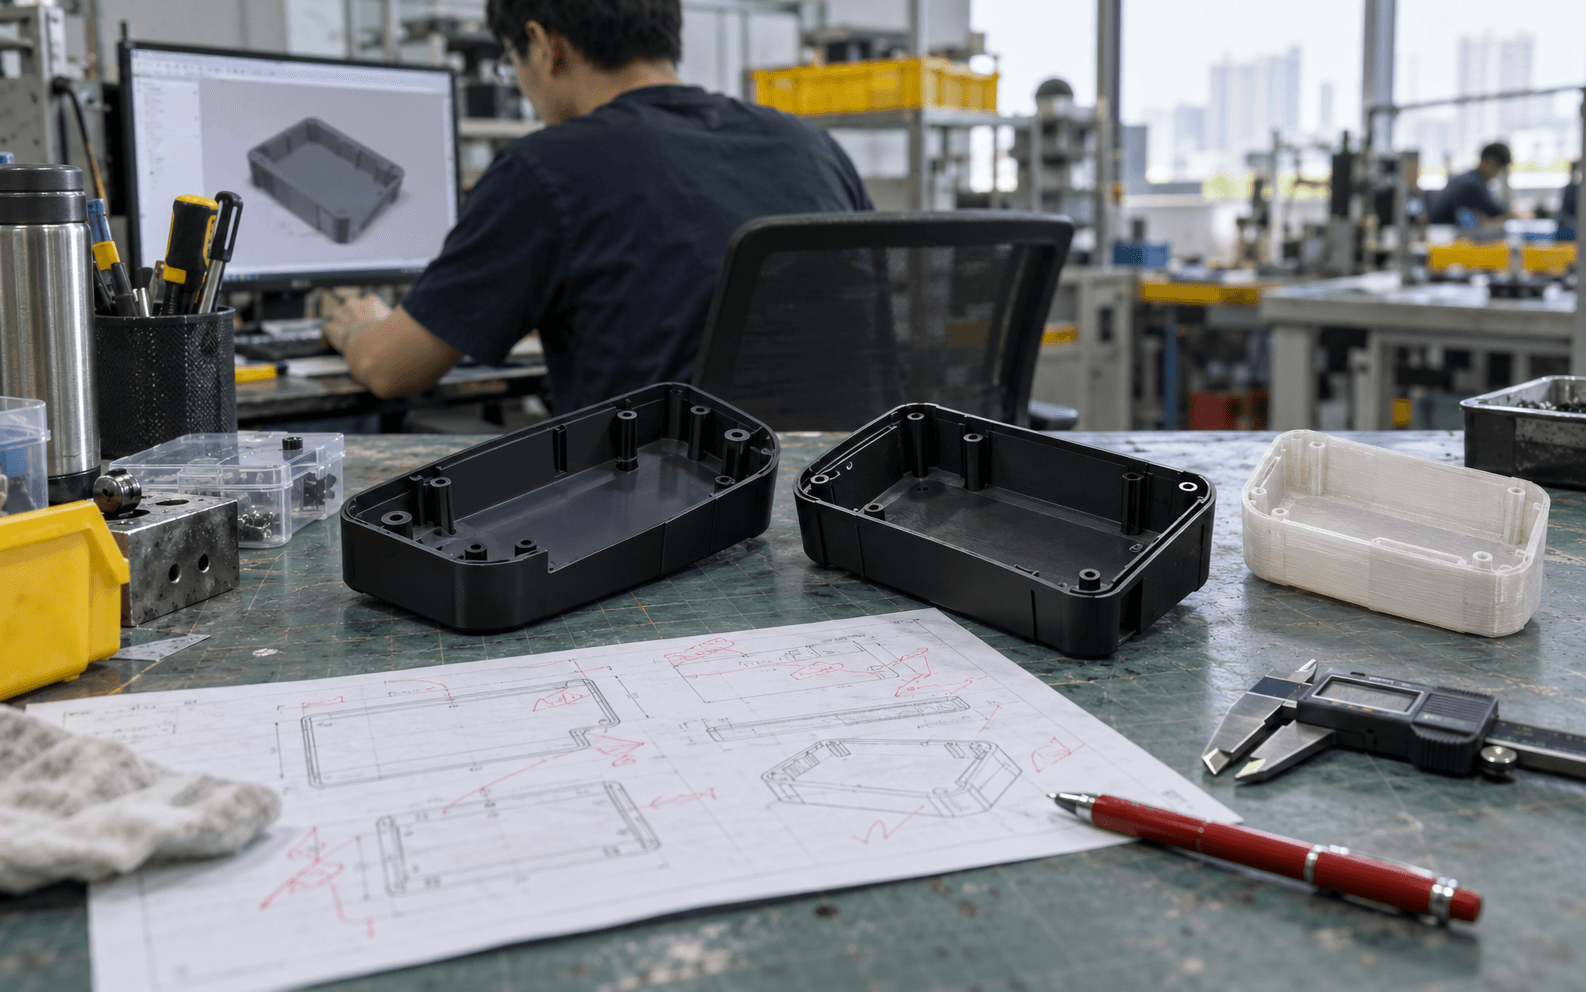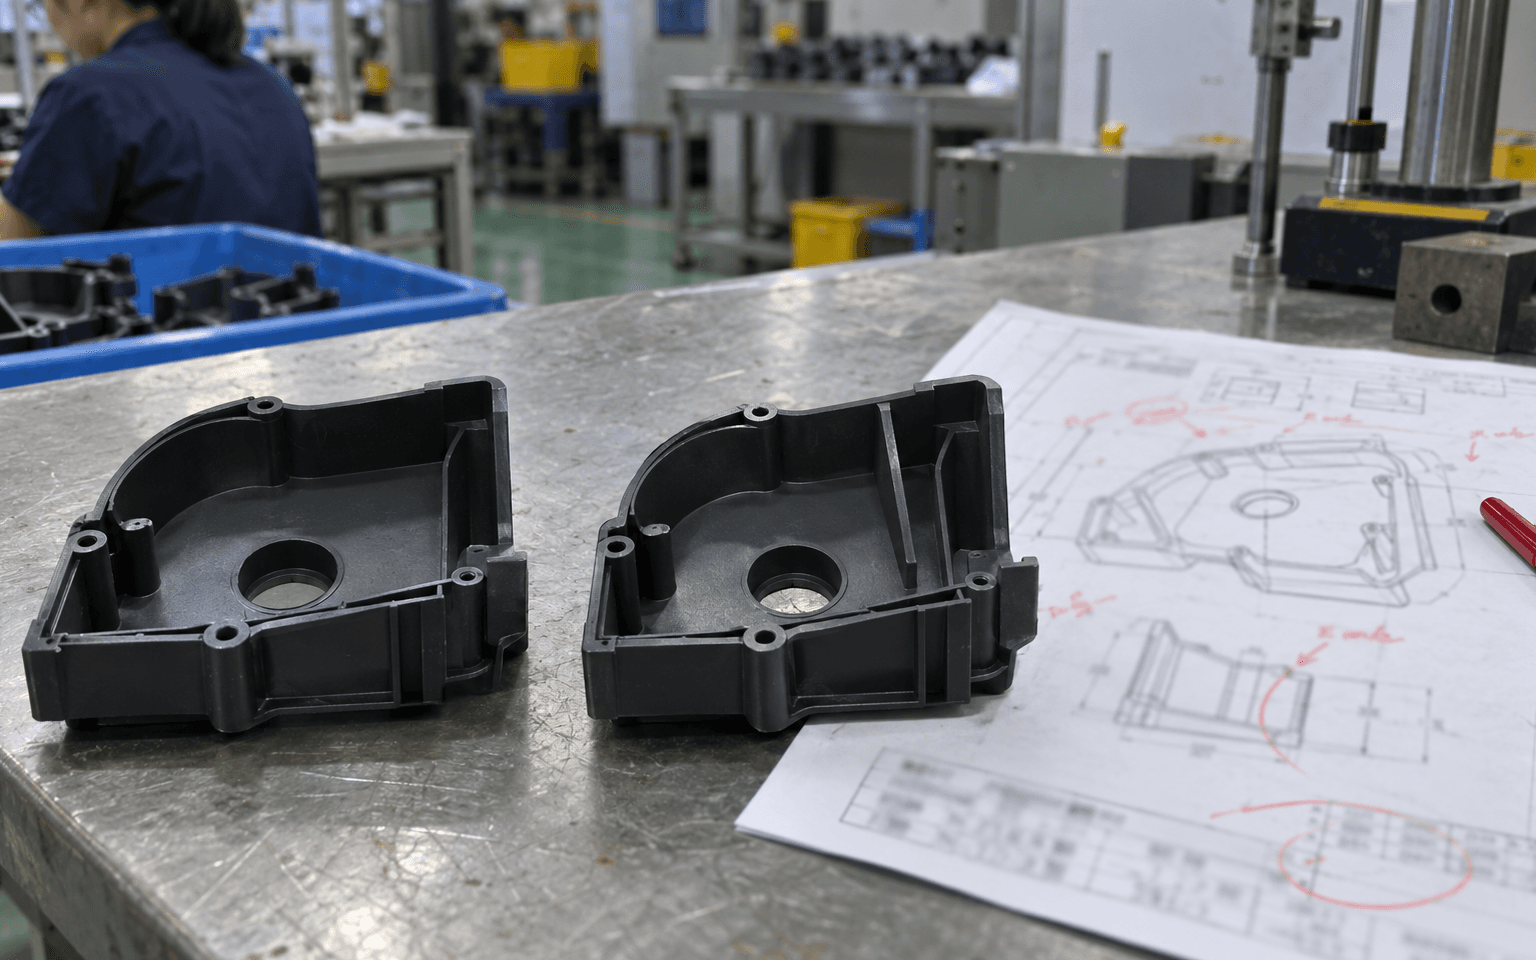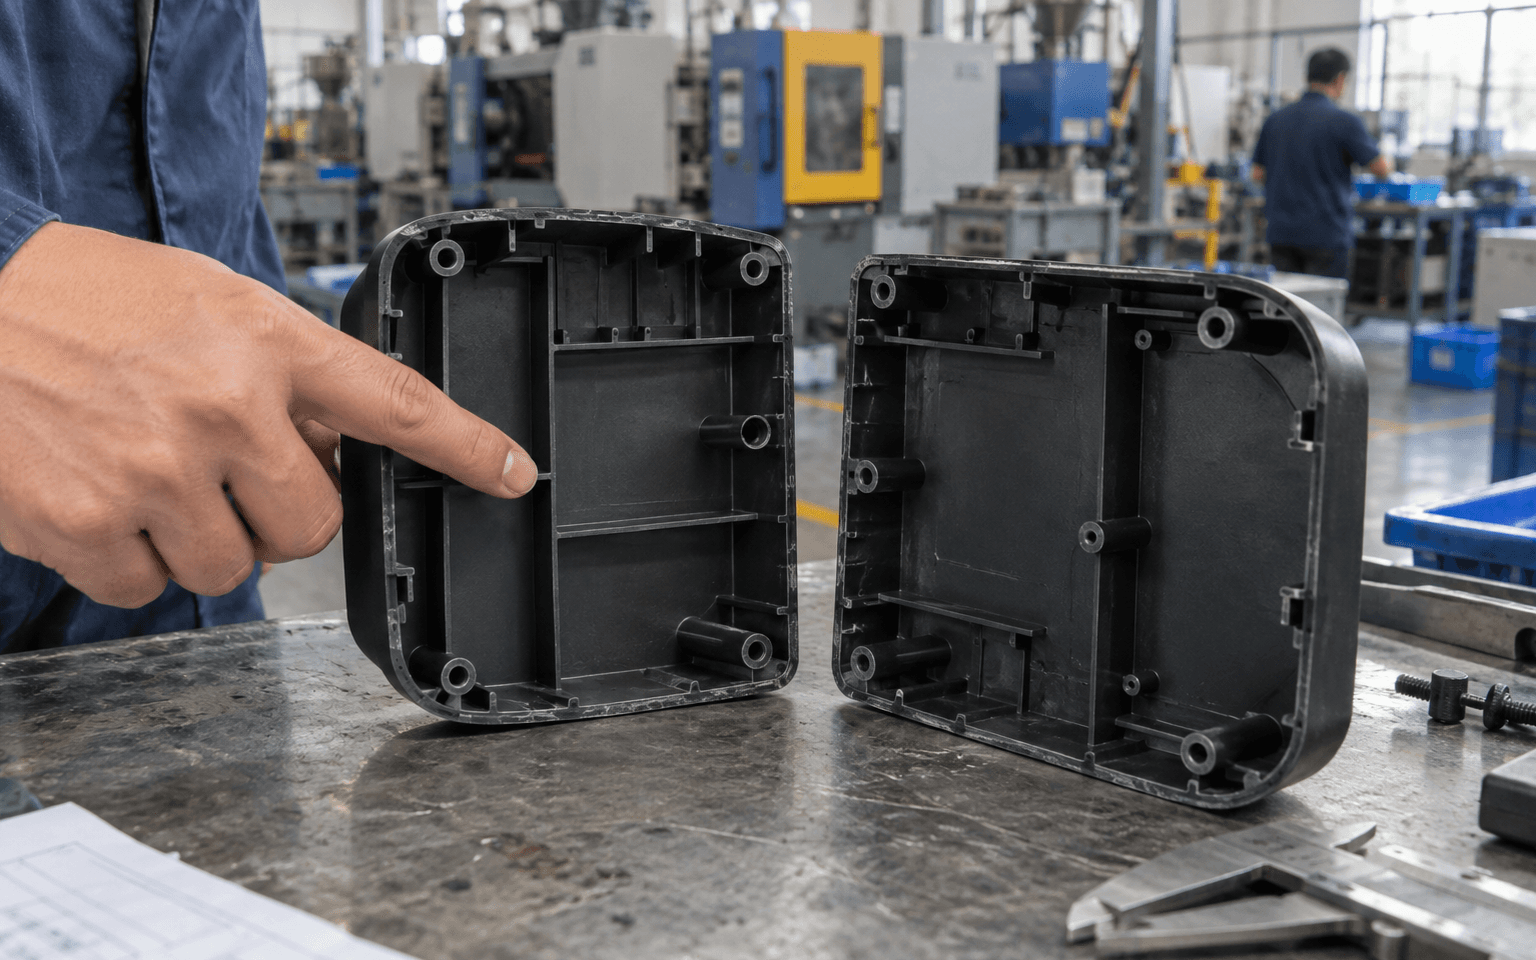
A part that looks perfect in CAD, or prints perfectly on a 3D printer, can be impossible or very expensive to injection mold. A few rules make the difference. Here they are, each with the reason behind it.
1. Add draft to walls
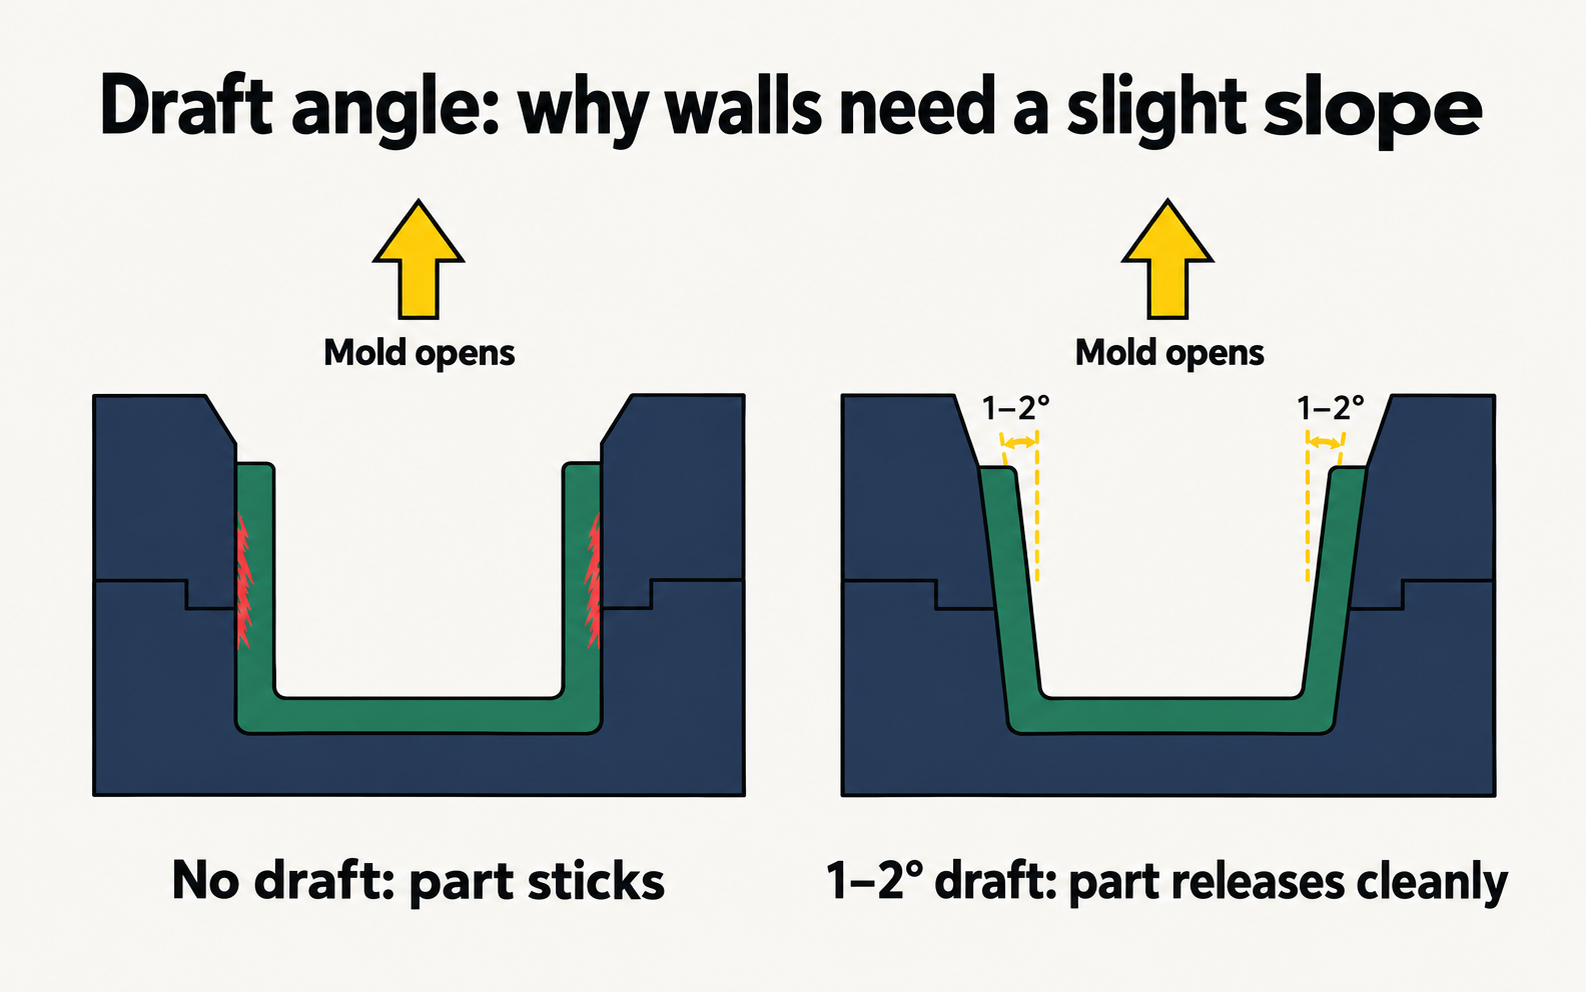
Draft is a slight slope (usually 1–2°) on walls that run in the direction the mold opens.
Why: plastic shrinks onto the mold as it cools. Perfectly vertical walls grip the mold and scrape or stick as the part is pushed out. Textured surfaces need more draft (often 3° or more).
2. Keep wall thickness even
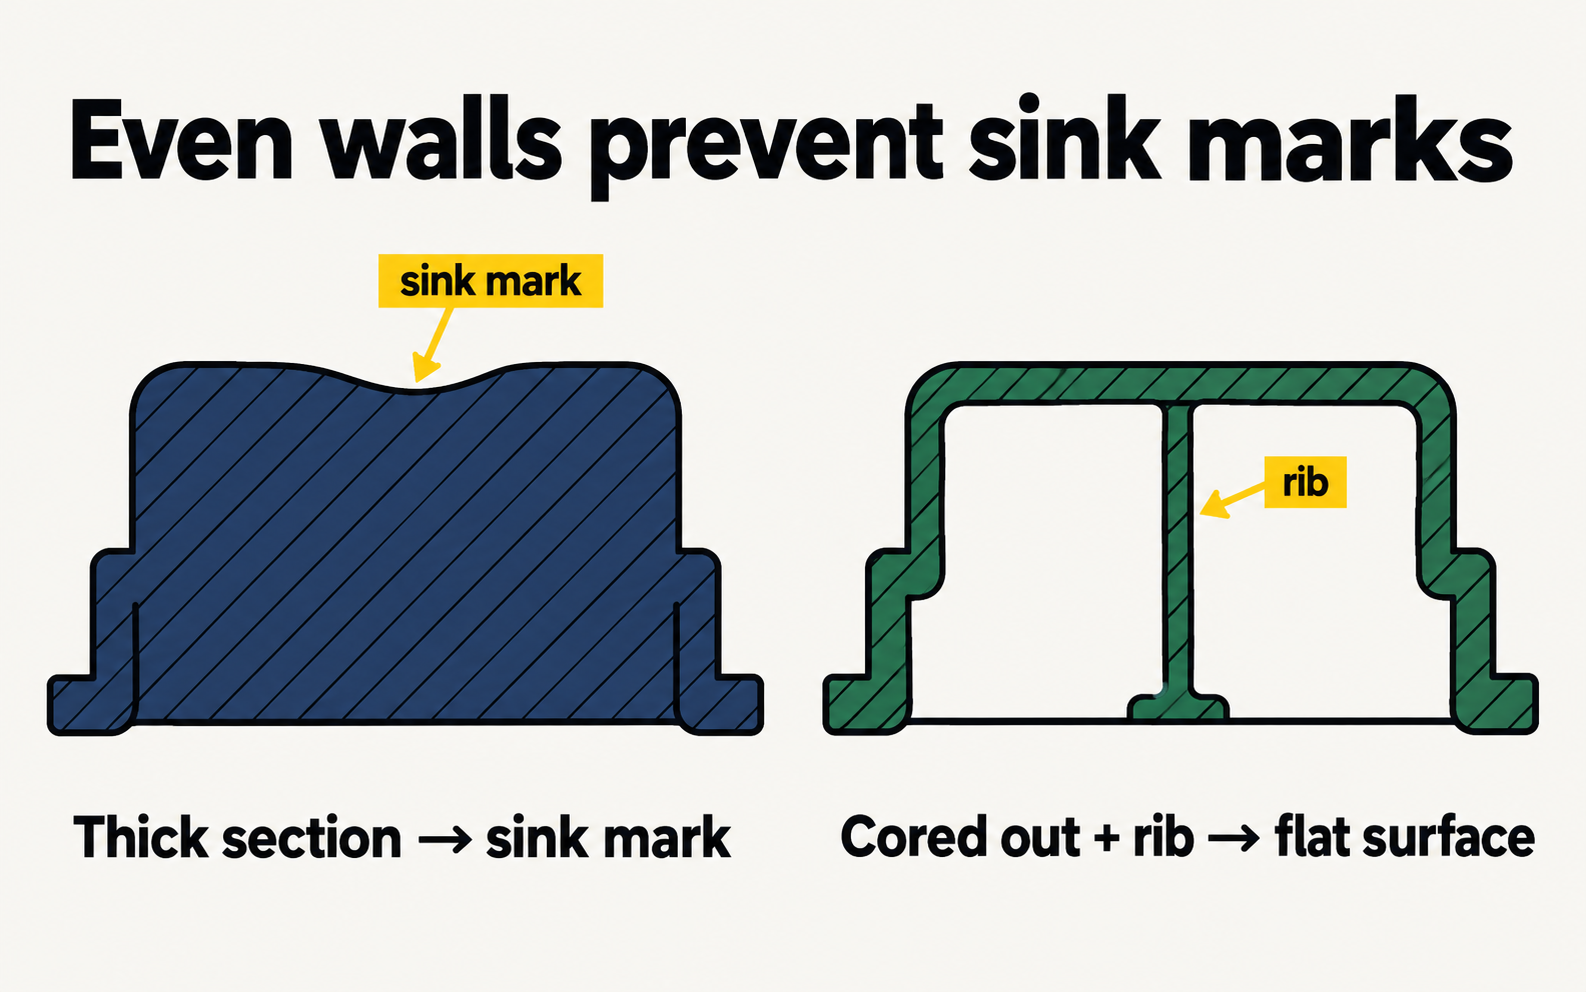
Aim for walls of similar thickness throughout, typically 1.5–3 mm for small consumer products.
Why: thick areas cool and shrink more than thin ones. That uneven shrinking causes sink marks (small dents on the surface opposite a thick area) and warping (the part bends). Thick walls also make each shot take longer, so parts cost more.
Tip: if you need a thick section, hollow it out (called coring out) and add ribs for strength instead.
3. Use ribs for strength, not thick walls
Ribs are thin walls that stiffen a part, like the ribs inside a plastic chair.
- Make ribs about 50–60% of the wall thickness they're attached to, to avoid sink marks.
- Give ribs draft too.
4. Design bosses carefully
A boss is a small cylinder for a screw to go into.
- Connect bosses to walls with ribs rather than leaving them free-standing.
- Keep boss walls thin, for the same reason as above.
5. Avoid undercuts where you can
An undercut is any feature that stops the part coming straight out of the mold, such as a side hole, a snap-fit hook or a thread on the outside.
Why: each undercut needs a moving part in the mold: a slide (moves sideways) or a lifter (moves at an angle). These add cost, complexity and potential failure points.
Alternatives: redesign the feature so it can be formed straight on, use a "pass-through" hole trick for snap fits, or accept the cost if the feature is essential.
6. Round the corners
Add radii to inside and outside corners.
Why: sharp inside corners concentrate stress (parts crack there) and make plastic flow harder. A good rule: inside radius ≈ half the wall thickness.
7. Think about where the plastic enters
The gate is where plastic enters the part, and it leaves a small mark. The parting line is where the two mold halves meet, and it leaves a faint line. Tell the mold maker which surfaces are cosmetic (customers see them) so they put these marks elsewhere.
8. Allow for shrinkage and tolerances
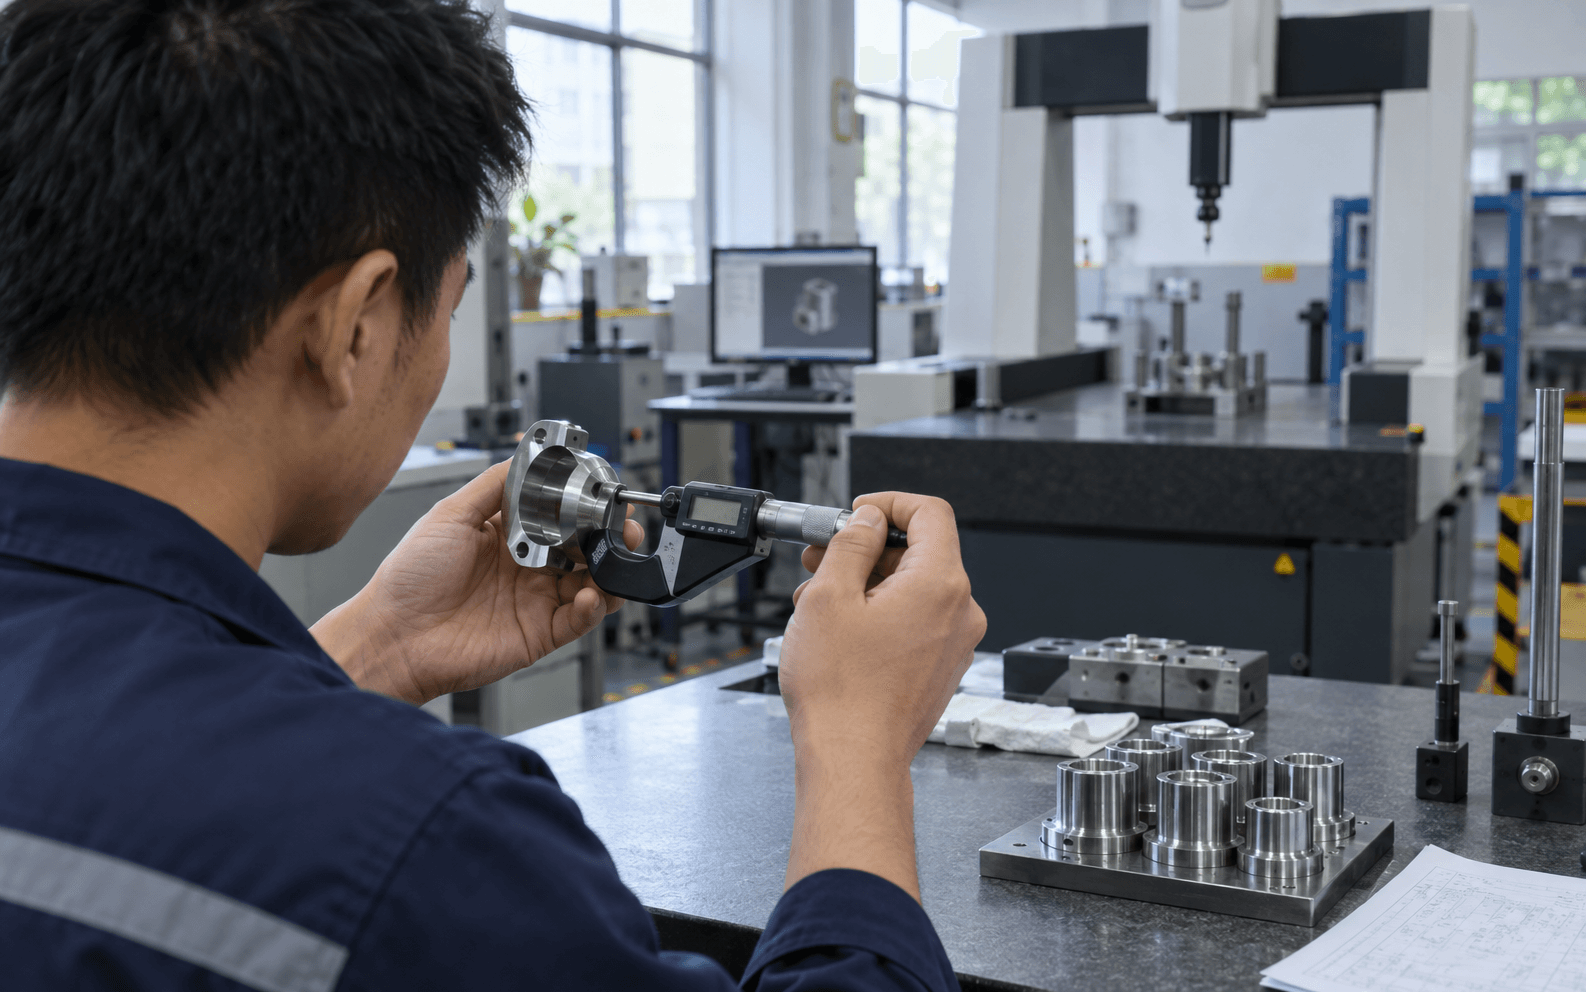
Plastic shrinks as it cools, differently for each material. Molded parts can't hold tolerances as tight as CNC parts. Put tight tolerances only where parts must fit together. (See Tolerances explained.)
Let the mold maker help
You don't need to get everything perfect alone. A good factory will send a DFM report (design for manufacturing review) showing problems before cutting steel. Treat it as a free design review, and answer every point.
Next steps
Updated 29 September 2026