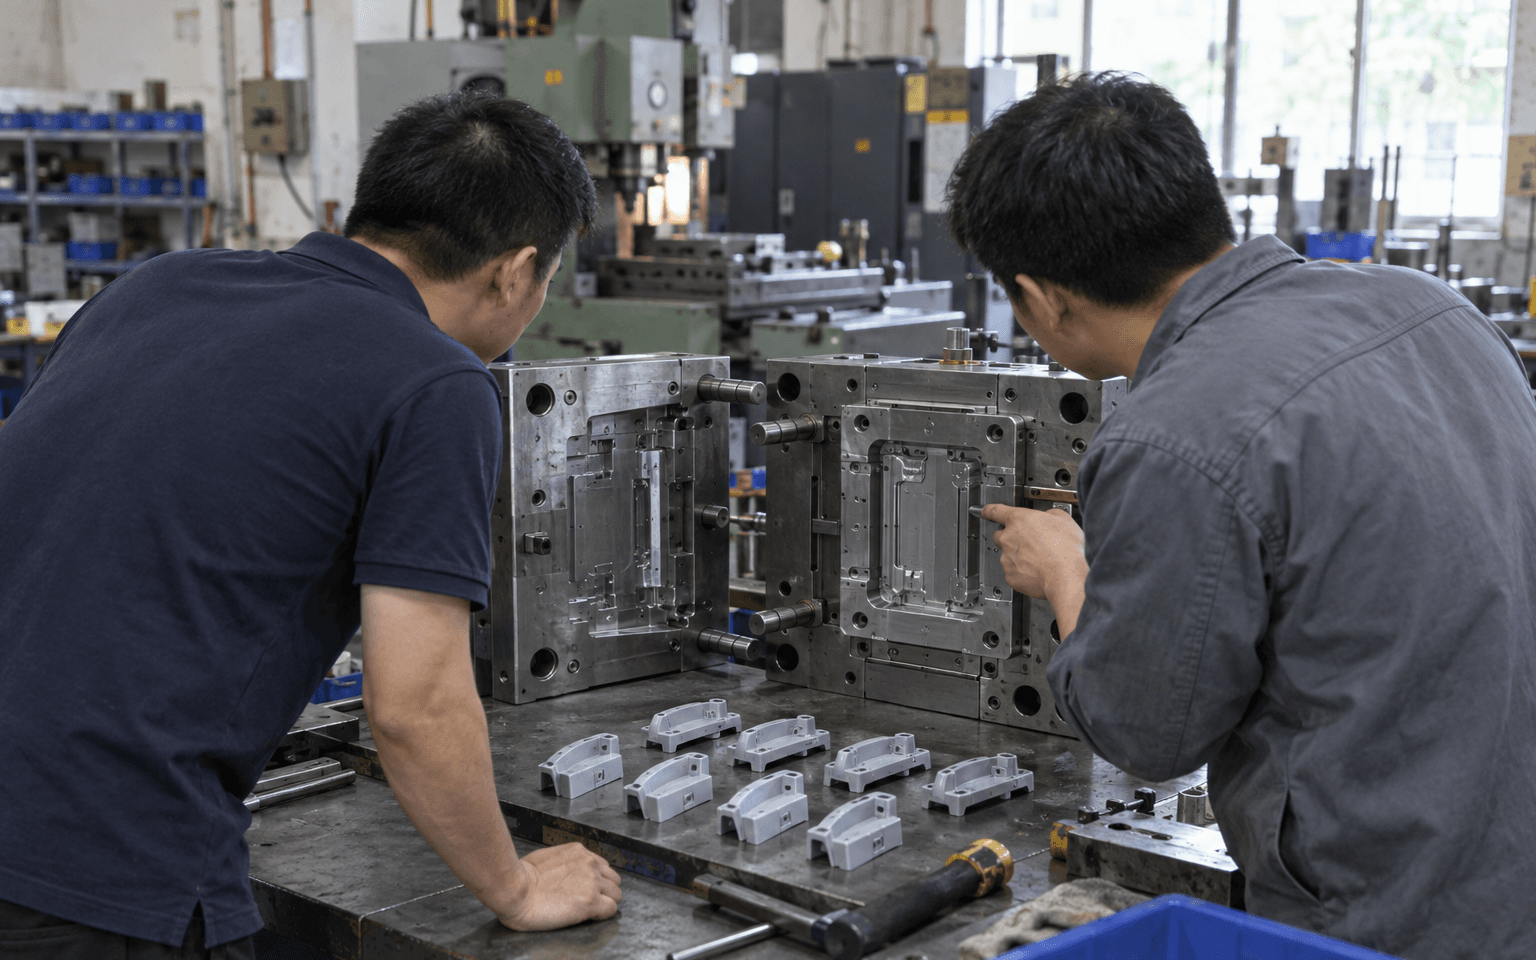
If your product has plastic parts, like a case, a button or a clip, there's a good chance they'll eventually be injection molded. It's how almost every plastic part around you was made, from your phone charger to your toothbrush.
This guide is for people doing it for the first time. We'll explain each term the first time it comes up, and tell you why each step matters, not just what it is.
First, what is injection molding?
Think of a waffle iron. You pour batter into a metal shape, close it, wait, and open it to get a waffle in exactly that shape. Every waffle comes out the same.
Injection molding works the same way, but for plastic:
- Small plastic pellets are melted in a machine.
- The melted plastic is pushed (injected) under high pressure into a hollow metal block shaped like your part. That block is the mold, also called the tool.
- The plastic cools and hardens in a few seconds.
- The mold opens, the finished part is pushed out, and the cycle repeats.
Each cycle is called a shot. A good mold can make hundreds of thousands of shots, so each part ends up very cheap, often just cents.
The catch: the mold itself is expensive and slow to make. It's machined out of solid steel (or sometimes aluminum) by skilled toolmakers, and that can cost thousands to tens of thousands of dollars and take over a month. You're paying a large amount up front so that every part afterwards is cheap.
In Chinese factories, commissioning a new mold is called 开模 (kāi mó, literally "opening a mold"). You'll hear it constantly.
Do you actually need a mold yet?
Because a mold is expensive and hard to change, only make one when your design is basically final. Changing a mold after it's cut ranges from annoying to impossible. Removing steel (to make a part thicker) is often doable; adding steel back (to make a part thinner) usually isn't.
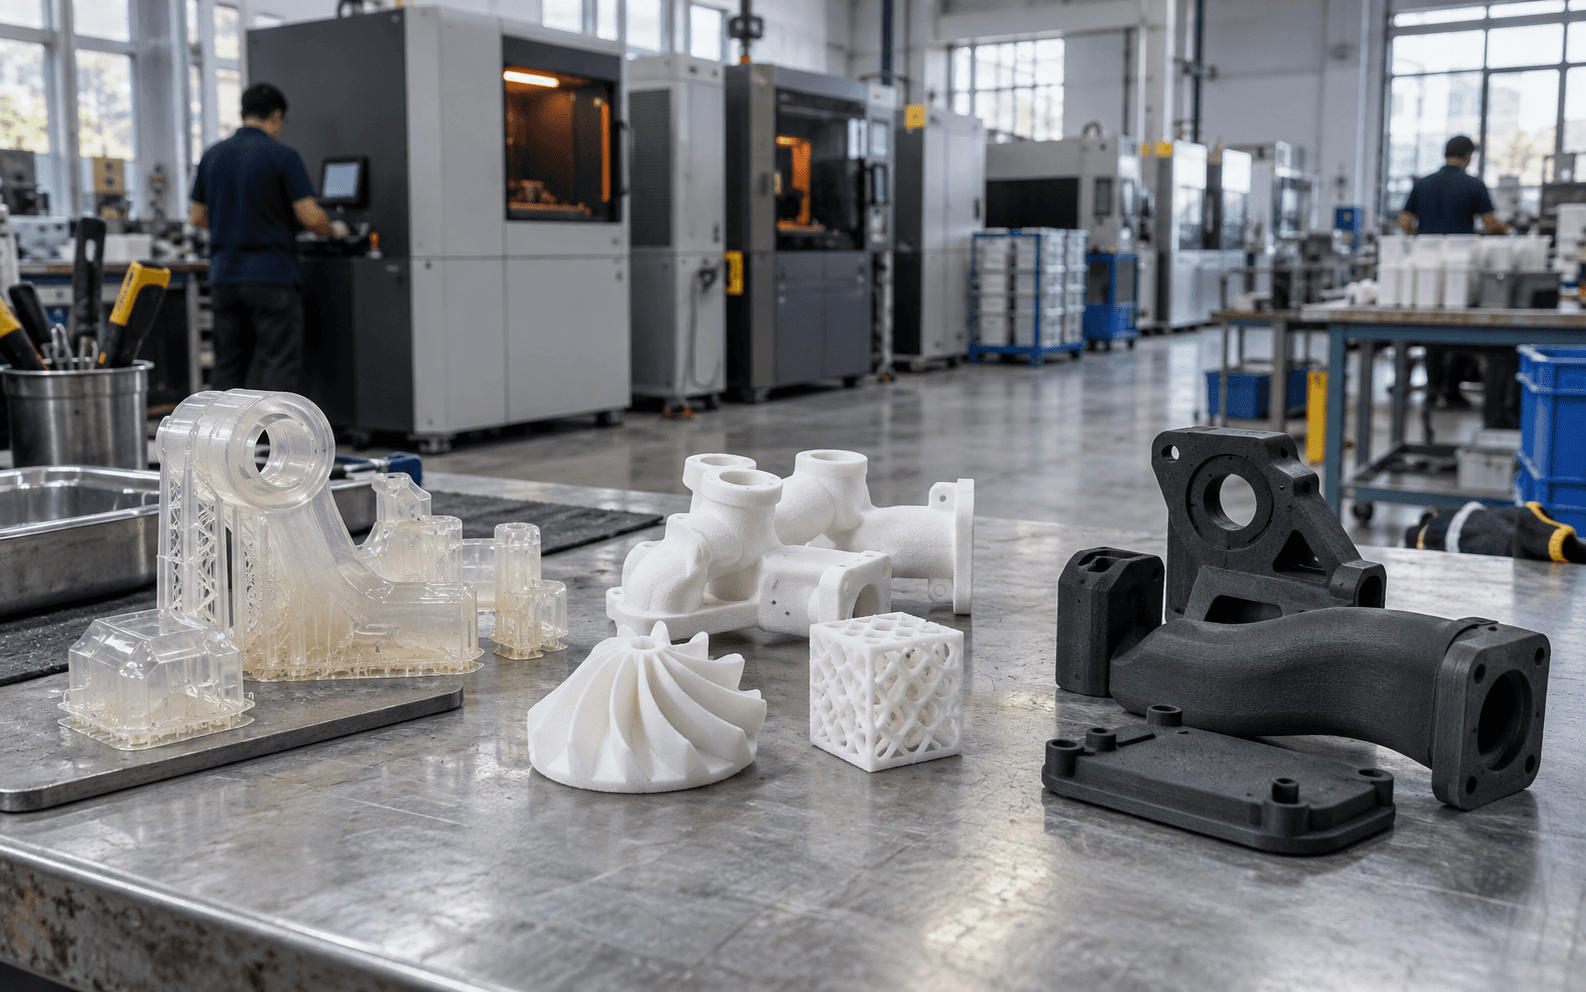
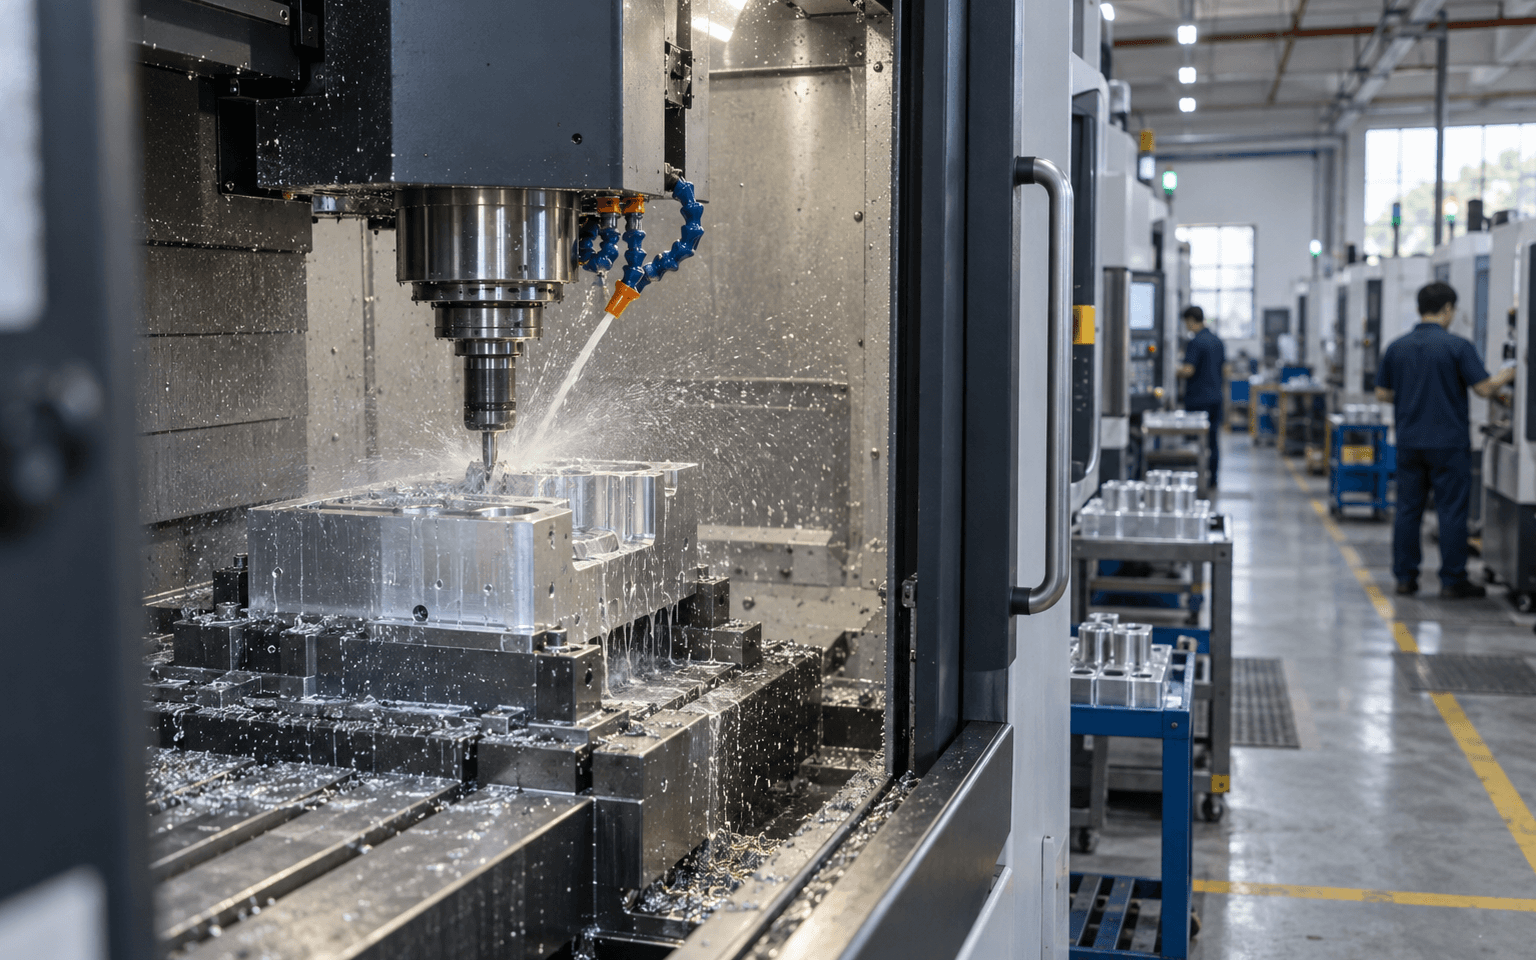
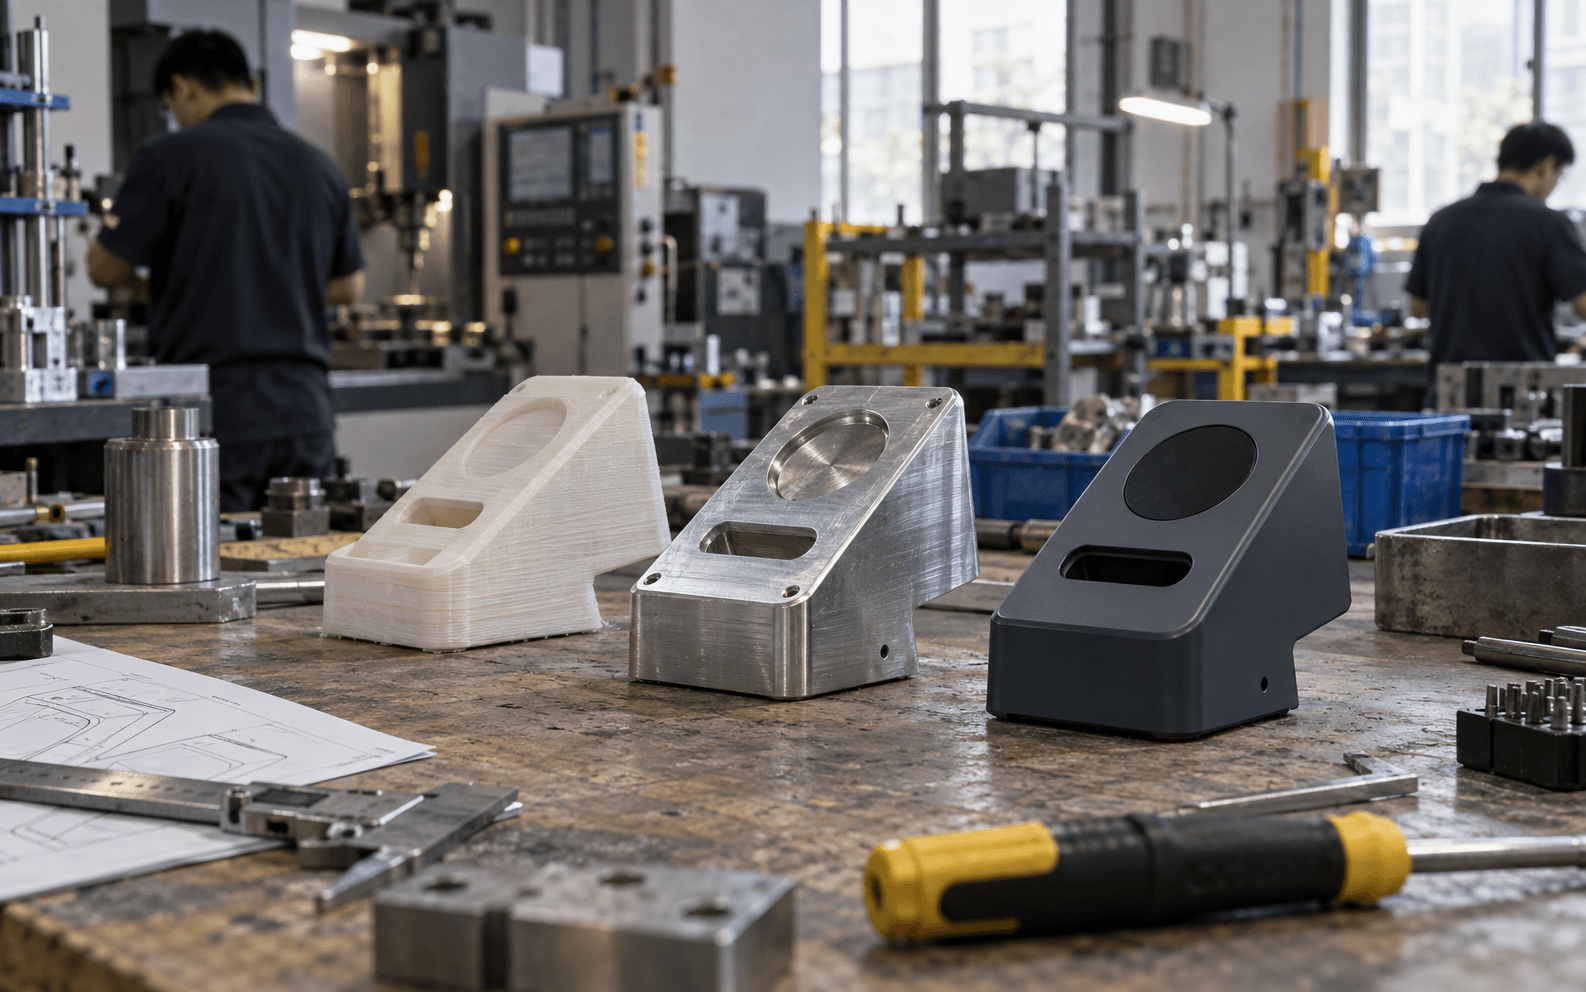
Before a mold, most teams go through prototypes, early physical versions of the product made without a mold:
- 3D printing: fastest, good for checking shape and fit
- CNC machining: a machine carves the part out of a solid block of plastic or metal. Precise, and good for strong parts.
- Urethane casting (also called vacuum casting, 复模 fù mó): a soft silicone mold is made from a master part, then liquid plastic is poured into it. You get 10–50 parts that look and feel close to real molded parts, for a fraction of the cost.
Rule of thumb: if you need fewer than about 100 parts, or your design is still changing, stay with prototypes. When you need thousands of identical parts and the design has stopped changing, it's time for a mold.
There's a middle option called soft tooling or rapid tooling: a cheaper mold made of aluminum or softer steel. It wears out sooner, but it's faster and cheaper. It's good for a first production run of a few thousand units while you test the market.
Step 1: Get your design ready for molding
Molded parts have rules that 3D-printed parts don't. A part that prints perfectly might be impossible to mold. The main rules, in plain terms:
- Draft angle: walls need a slight slope (usually 1–2 degrees) so the part can slide out of the mold, the same way a cake tin is slightly wider at the top. Perfectly vertical walls tend to stick.
- Even wall thickness: plastic shrinks as it cools. Thick areas shrink more than thin ones, which causes sink marks (small dents on the surface) and warping (the part bends). Try to keep walls a similar thickness everywhere, typically 1.5–3 mm for small products.
- Undercuts: any feature that would "hook" the part and stop it from coming straight out of the mold, like a clip or a side hole. They're possible, but each one needs a moving piece inside the mold, which adds cost. (More on this below.)
- Where the plastic enters: the plastic flows in through a small opening called the gate, which leaves a tiny mark on the part. You'll want that mark somewhere nobody sees.
You don't need to master all of this yourself. That's what the next step is for.
DFM: the mold maker's review of your design
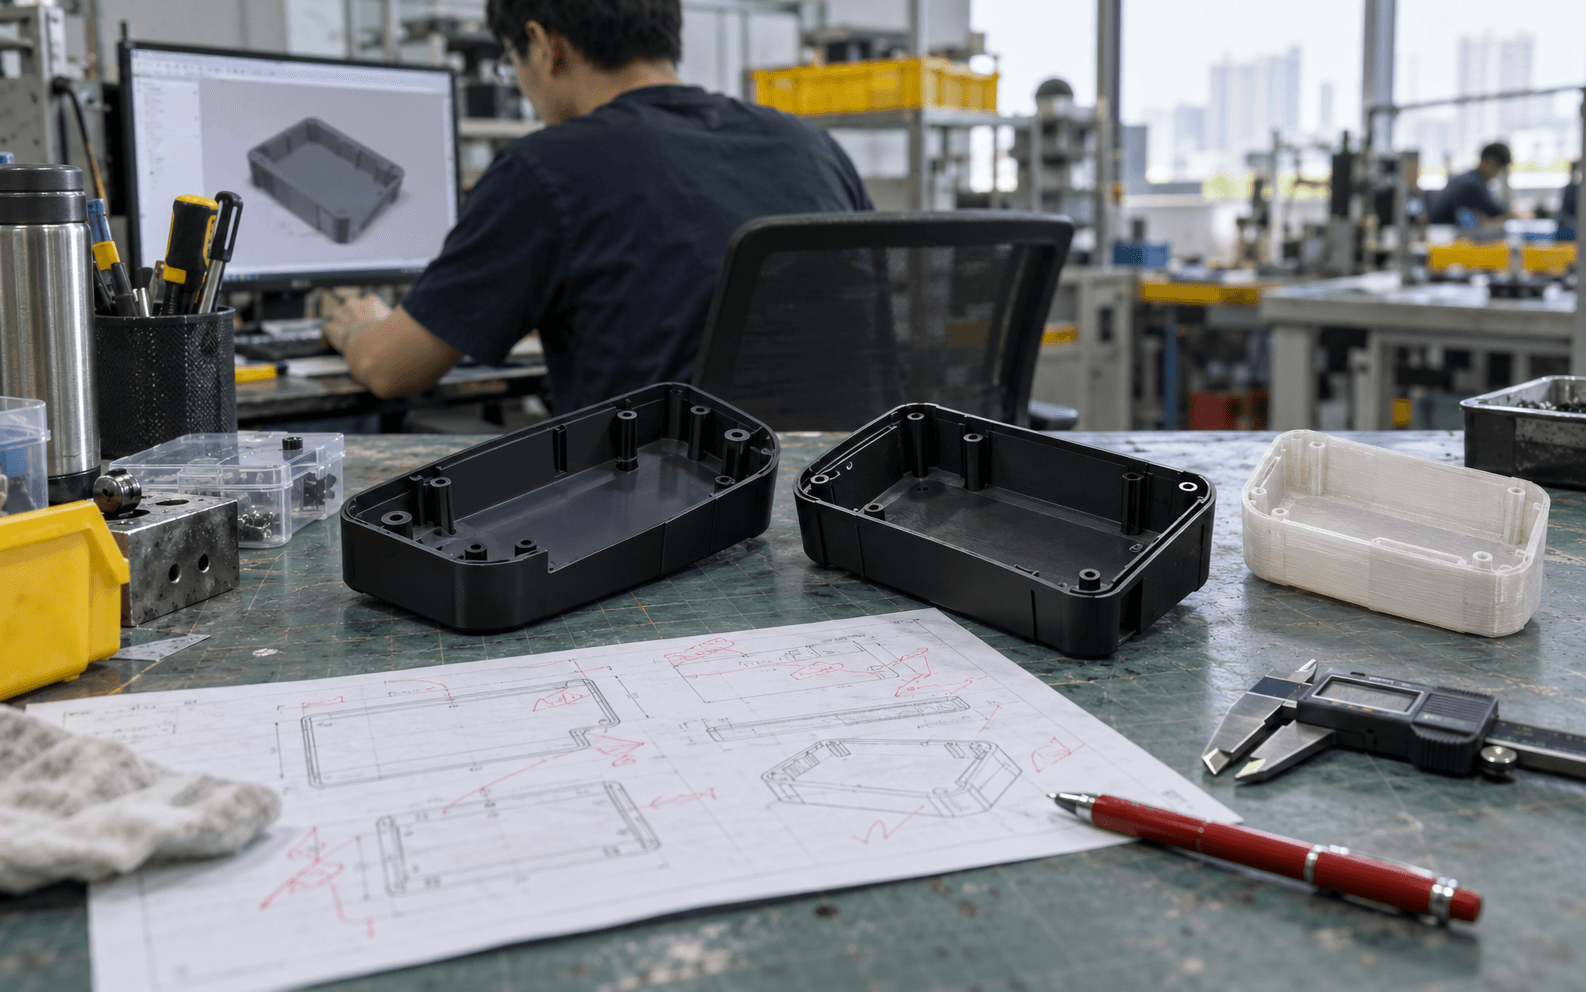
DFM stands for Design for Manufacturing. In this context it means the mold maker reviews your 3D files and sends back a report showing problems: missing draft, walls that are too thick, undercuts, and where they plan to put the gate.
A good factory sends a DFM report before giving you a final price, often with screenshots and suggested fixes. If a factory quotes a price without asking you any questions or flagging anything, be cautious. Either your design is perfect (unlikely on a first product) or they haven't looked closely.
Step 2: Ask several factories for quotes
This is called sending an RFQ (Request for Quotation). Send the same package to every factory so you can compare like for like:
- 3D files of each part in STEP format (a universal CAD format every factory can open)
- 2D drawings marking the dimensions that really matter, with tolerances (how much a dimension is allowed to vary, e.g. 20 mm ± 0.1 mm)
- Material: which plastic. ABS is common for cases, PC is tough and can be clear, PC/ABS is a blend, and TPU is rubbery. If you're not sure, say what the part needs to do and ask for advice.
- Finish: smooth and glossy, matte, or textured? Colour?
- Quantities: how many you expect to make per year, and over the product's life. This decides how durable the mold needs to be.
Get quotes from three to five factories. In our directory, filter by Injection molding. Dongguan (especially Chang'an town) and Shenzhen's Bao'an district have the most mold makers. Use the Foreign-owned / Chinese toggle depending on how much English-language support you want.
Step 3: Understand the quote
Mold quotes contain a lot of jargon. Here's what the common lines mean.
Cavities. A cavity is one part-shaped hollow in the mold. A single-cavity mold (written 1×1) makes one part per shot. A four-cavity mold (1×4) makes four identical parts per shot. More cavities make a more expensive mold but cheaper parts, because the machine produces four at a time. For a first product, one or two cavities is common.
Family mold. Several different parts (say, a top case and a bottom case) in one mold. Cheaper up front, but harder to get every part right, because plastic fills each shape differently.
Core and cavity (the two halves). A mold has two main halves that close together. The steel inserts that actually form your part's shape are called the core and cavity (模仁 mó rén). The type of steel used here matters most for price and mold life.
Mold base. The standard steel frame that holds everything together, like a picture frame around the part-shaped inserts.
Slides and lifters. Remember undercuts? To mold them, the mold needs parts that move sideways or at an angle as the mold opens: slides (行位 háng wèi) for outside features and lifters (斜顶 xié dǐng) for inside ones. Each one adds cost and complexity, which is why designers try to avoid undercuts.
Runner and hot runner. The channels that carry melted plastic to your part are called runners. With a normal (cold) runner, that channel hardens into a plastic "stick" attached to your part, which gets cut off as waste. A hot runner keeps the plastic melted inside heated channels, so there's less waste and faster cycles, but it adds cost to the mold. Small startup molds usually use cold runners.
Texture and polish. The surface of the mold becomes the surface of your part. A glossy part needs a polished mold; a matte or textured part needs the mold surface etched (咬花 yǎo huā, texture codes like "MT-11010"). This is priced per surface.
Mold life. How many shots the mold is rated for before it wears out, e.g. 100,000 or 500,000. It's tied to the steel choice.
T1 samples. The first parts made from the new mold (explained in Step 5). Quotes usually include a set number of T1 samples.
What about the steel?
Harder steel lasts longer and costs more. Roughly:
- Aluminum: cheapest and fastest to machine. Good for a few thousand to tens of thousands of shots. Often used for soft tooling.
- P20 or 718H steel: the typical choice for startup volumes, good for roughly a few hundred thousand shots.
- Hardened steels (H13, S136, NAK80): for very high volumes, glass-filled plastics (which wear molds faster), or very glossy or clear parts.
Ask each factory to write the steel grade in the quote. Always confirm the numbers with your factory; these are typical ranges, not promises.
How much will it cost?
It depends mostly on part size and complexity. As a very rough picture:
- A small, simple part (say, a button or a small cover) in a single-cavity steel mold: often a few thousand US dollars
- A larger enclosure with several slides or lifters: can be over ten thousand dollars
- Multi-cavity or hot-runner molds: more again
If one quote is far below the others, find out why. The usual reasons are cheaper steel or fewer cavities than you asked for.
Step 4: Payment and making sure the mold is yours
This step protects you, so read it carefully.
Payment. A common arrangement is 50% deposit to start and 50% after you approve the first samples. Some use 40/30/30. Avoid paying 100% before you've seen and approved parts from the mold.
Who owns the mold? You pay for the mold, but it physically sits in the factory's building. Make sure the paperwork says it's yours:
- A private mold (私模 sī mó) belongs to the customer who paid for it. The factory may only make parts from it for you.
- A public mold (公模 gōng mó) is the factory's own mold for its own standard products, which it can sell to anyone. You don't want your product made from one of these.
Your contract (or purchase order) should state:
- that you own the mold, with its mold number
- that the factory can't make parts from it for anyone else
- that you can move the mold to another factory once you've paid in full
Also ask for a metal nameplate on the mold with your company name.
Protect your design. Many founders use an NNN agreement (Non-disclosure, Non-use, Non-circumvention), written in Chinese and enforceable in China. It's generally considered more useful than a US-style NDA, because it also stops the factory from using your design or going around you to sell to your customers.
Step 5: Making the mold, and the first trial (T1)
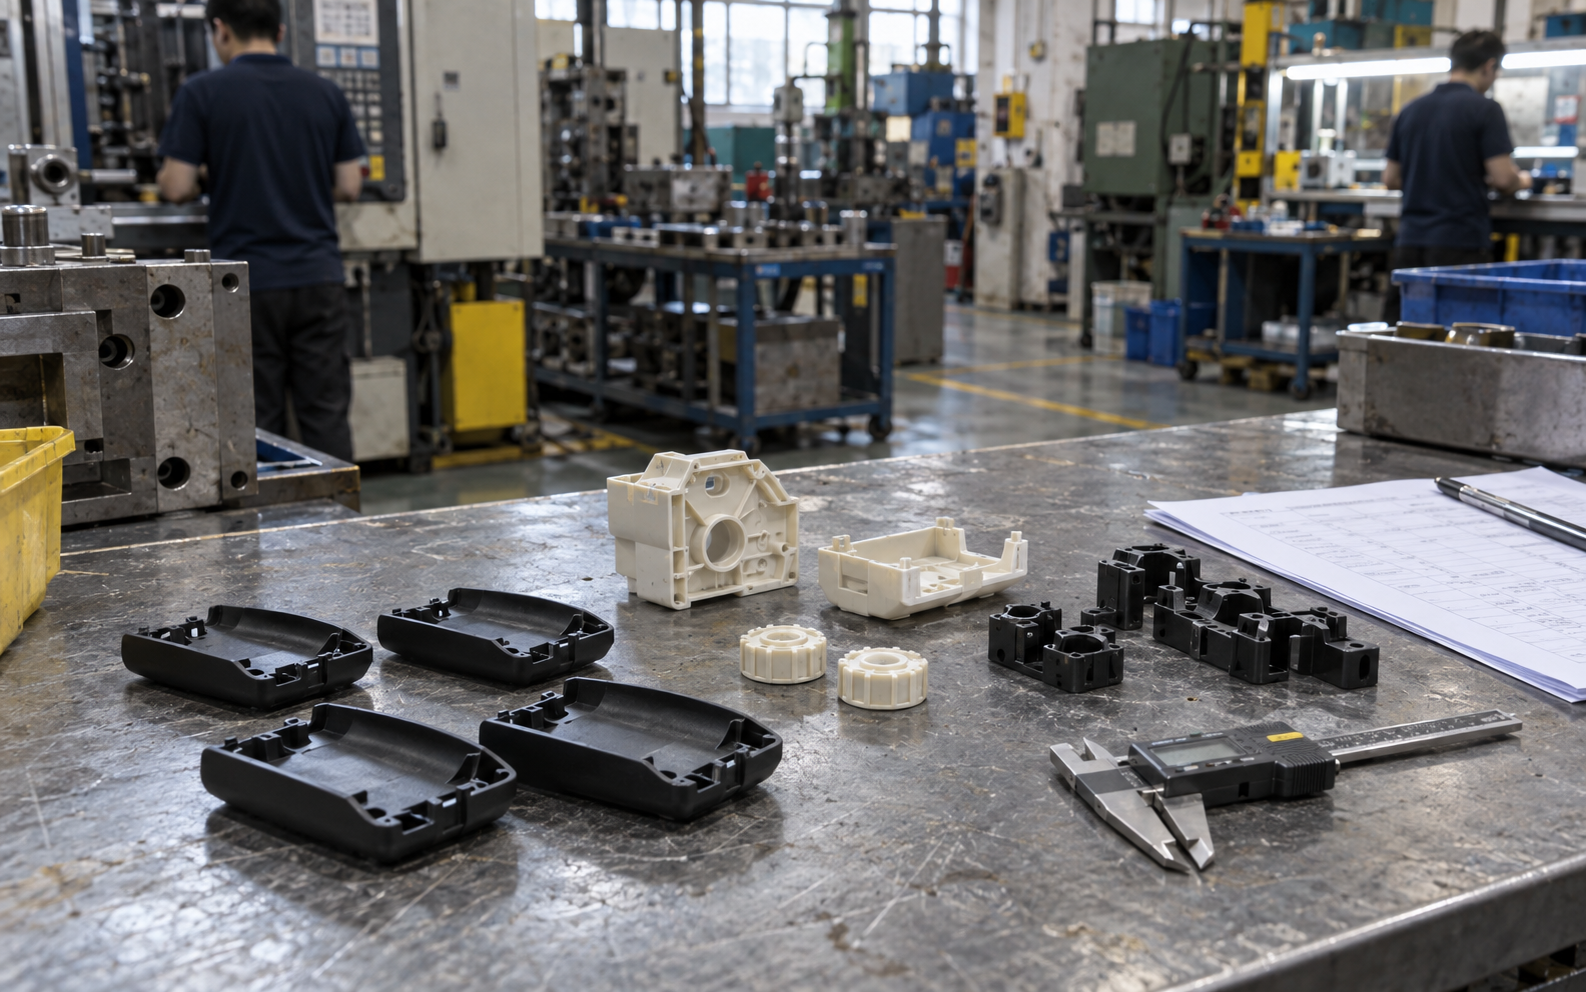
Once you pay the deposit, a typical timeline for one moderately complex part looks like this:
- Mold design (about 3–7 days). The factory designs the mold itself and sends drawings for you to approve.
- Machining the steel (about 3–5 weeks). Toolmakers cut the steel with CNC machines and EDM (a process that uses electric sparks to shape very fine details), then fit all the pieces together.
- First trial, "T1" (试模 shì mó). The mold goes into a molding machine for the first time and makes sample parts. You receive these T1 samples, usually with photos and a short report.
- Fixes, "T2", "T3"… T1 almost always shows some problems. The factory adjusts the machine settings or modifies the steel (改模 gǎi mó), then runs another trial (T2), and so on.
- Texture and final polish. Surface finishing on the mold is usually done after the shape is right.
- Sample approval (签样 qiān yàng). When you're happy, you formally approve a sample. That approved part becomes the golden sample (金样 jīn yàng): the reference every future part is checked against.
Plan for at least two trial rounds. From kick-off to approved samples, 5–8 weeks is common for a first mold. Ask for weekly progress photos; good factories send them anyway.
What usually goes wrong at T1 (and why it's normal)
Don't panic if your first samples have issues. Common ones:
- Short shot: the plastic didn't fill the whole shape, so part of the part is missing
- Flash: a thin fin of extra plastic leaks out where the two mold halves meet
- Sink marks: small dents over thick areas (see "even wall thickness" above)
- Warping: the part bends as it cools
- Weld lines: faint lines where two flows of plastic met
- Gate marks: the small scar where plastic entered the part
Most are fixed by adjusting the machine (temperature, pressure, speed) or by small steel changes.
One tip saves a lot of arguments: before T1, agree in writing which surfaces are cosmetic (usually called "A-surfaces", the ones customers see) and what counts as acceptable there. Otherwise "looks fine to us" and "looks fine to me" can mean very different things.
Checklist
- Design is frozen and tested with prototypes
- You've received and answered a DFM report
- The same RFQ package went to 3–5 factories
- Each quote states steel grade, number of cavities, mold life and number of T1 samples
- Contract says the mold is yours (私模), with its mold number and transfer rights
- NNN agreement signed
- Final payment is tied to sample approval
- Golden sample approved, signed and kept safe
Words you'll hear
| Chinese | Pinyin | Meaning |
|---|---|---|
| 开模 | kāi mó | Make a new mold |
| 试模 | shì mó | Mold trial (T1, T2…) |
| 改模 | gǎi mó | Modify the mold |
| 私模 / 公模 | sī mó / gōng mó | Your private mold / factory's shared mold |
| 行位 / 斜顶 | háng wèi / xié dǐng | Slide / lifter (moving parts for undercuts) |
| 咬花 | yǎo huā | Texture etched into the mold |
| 签样 | qiān yàng | Sign off a sample |
| 金样 | jīn yàng | Golden sample |
See the full glossary for more.
Keep reading
- What is injection molding?
- How much does injection molding cost?
- Design rules for injection-molded parts
- Aluminum vs steel molds
Further reading
- China injection molding process: Sourcing Allies
- Next steps: EVT, DVT, PVT explained, which covers what happens after your mold is ready
Updated 29 September 2026