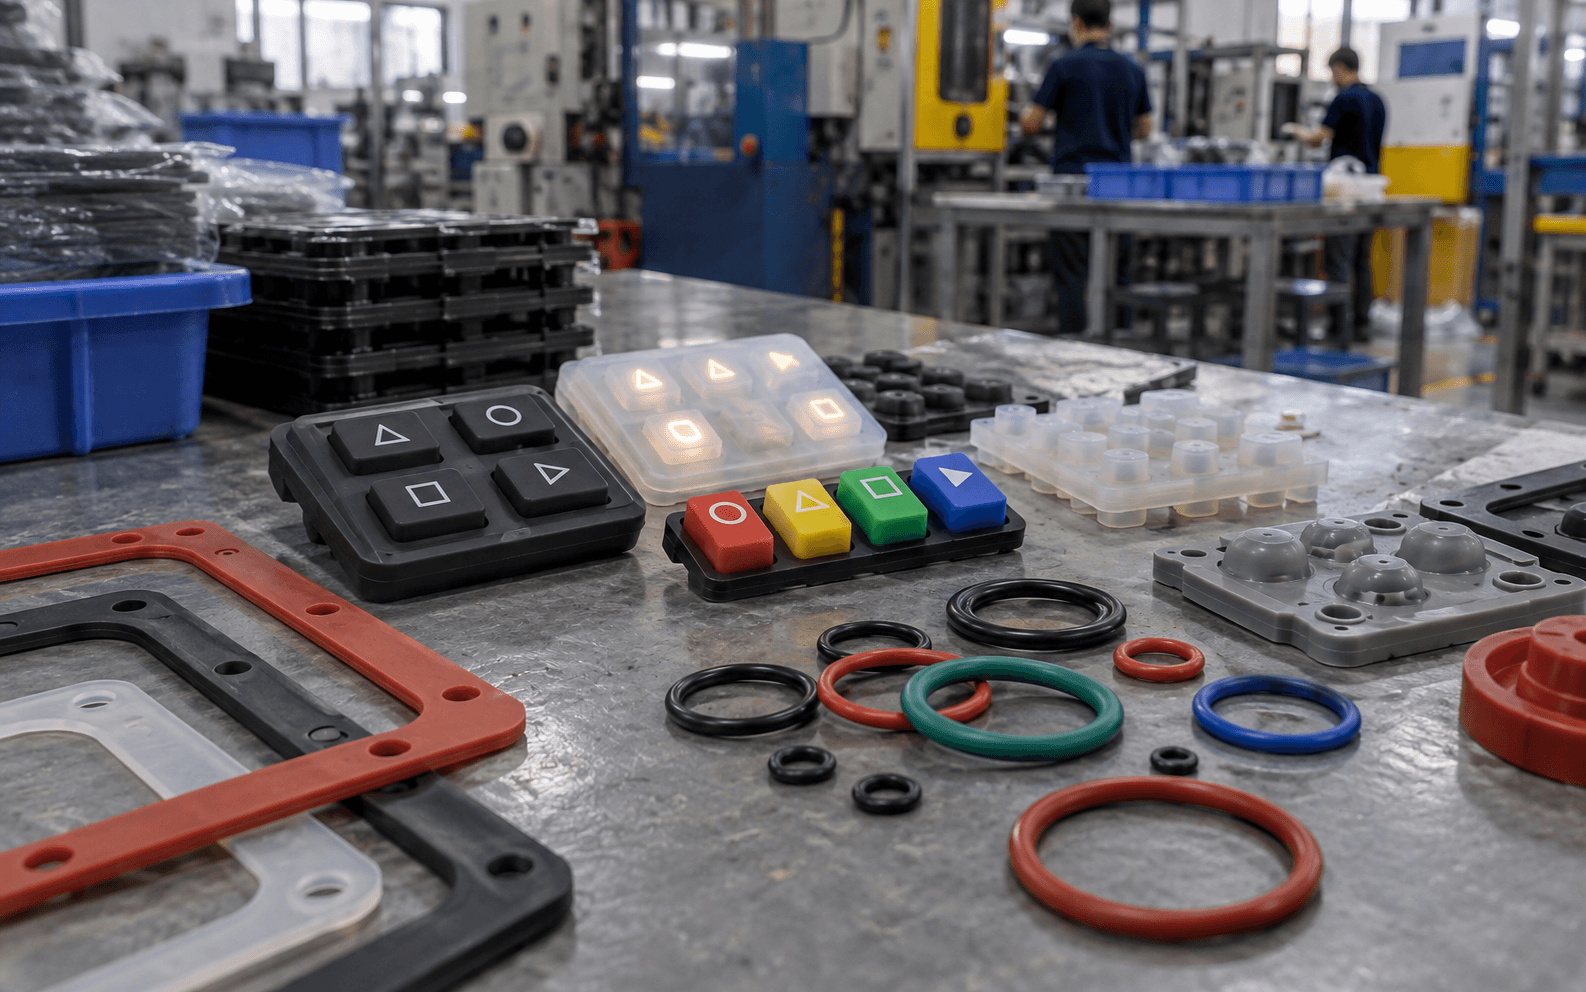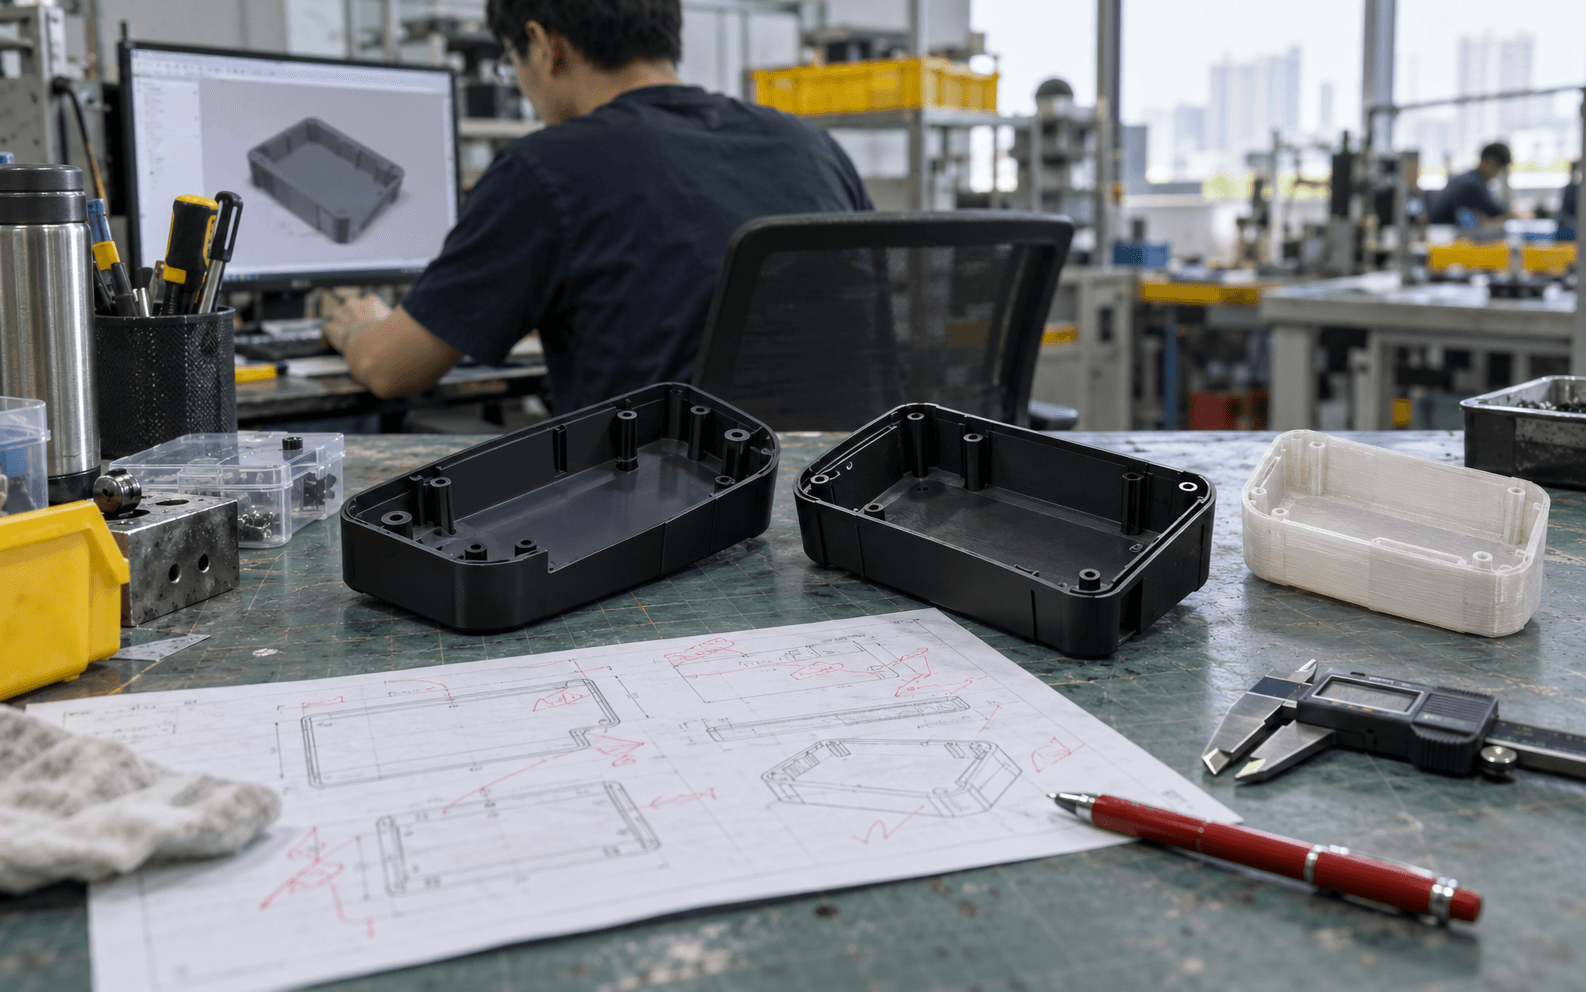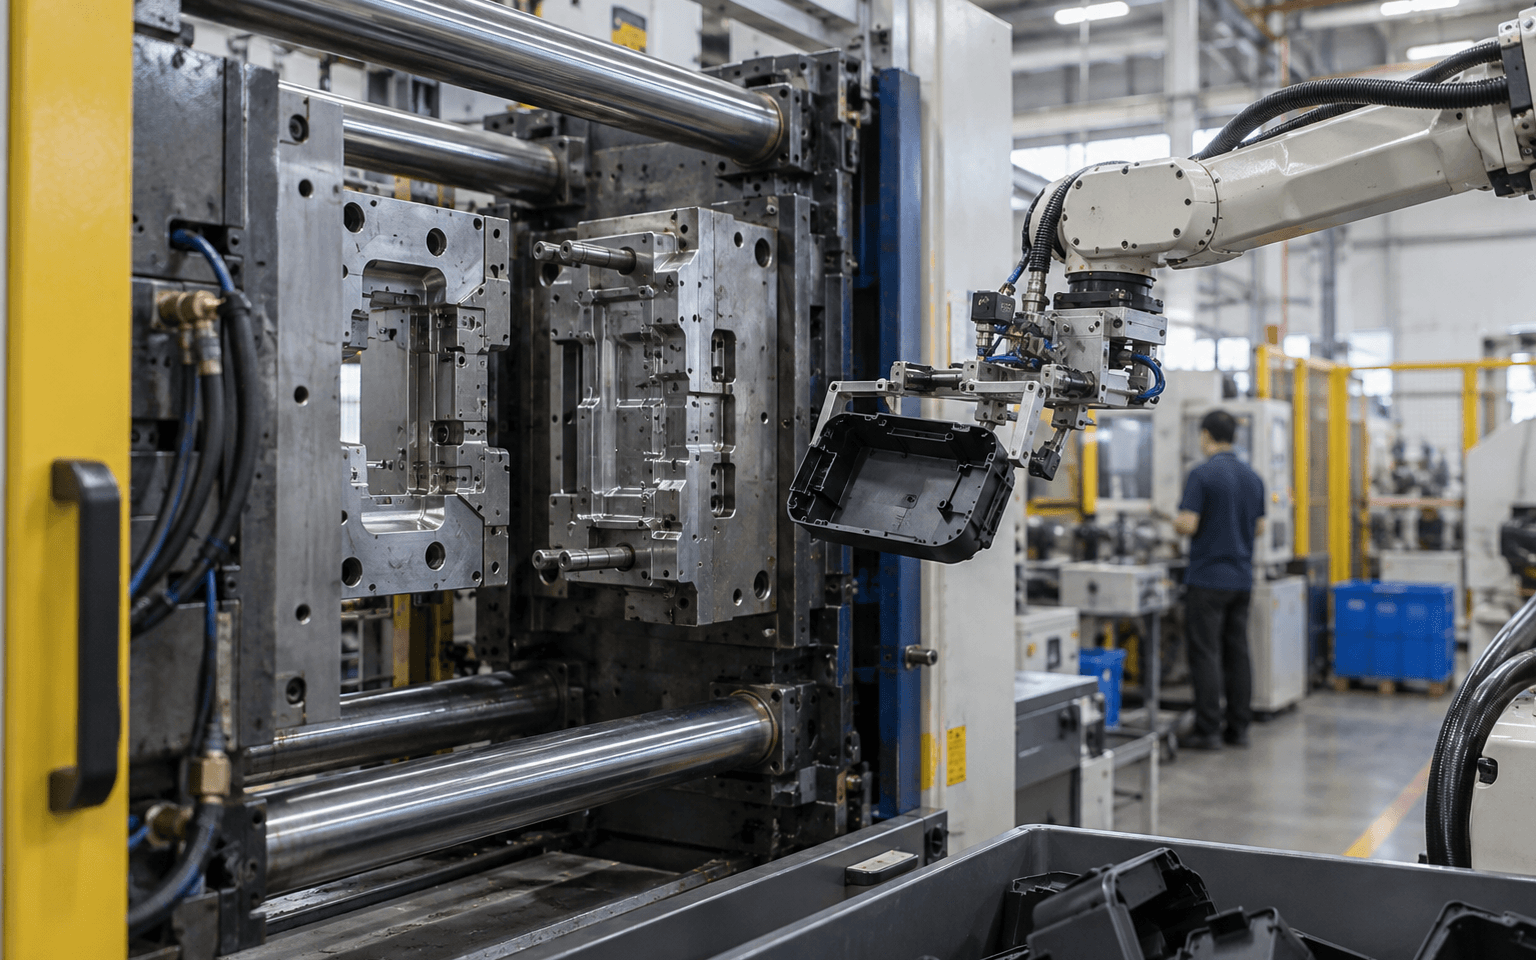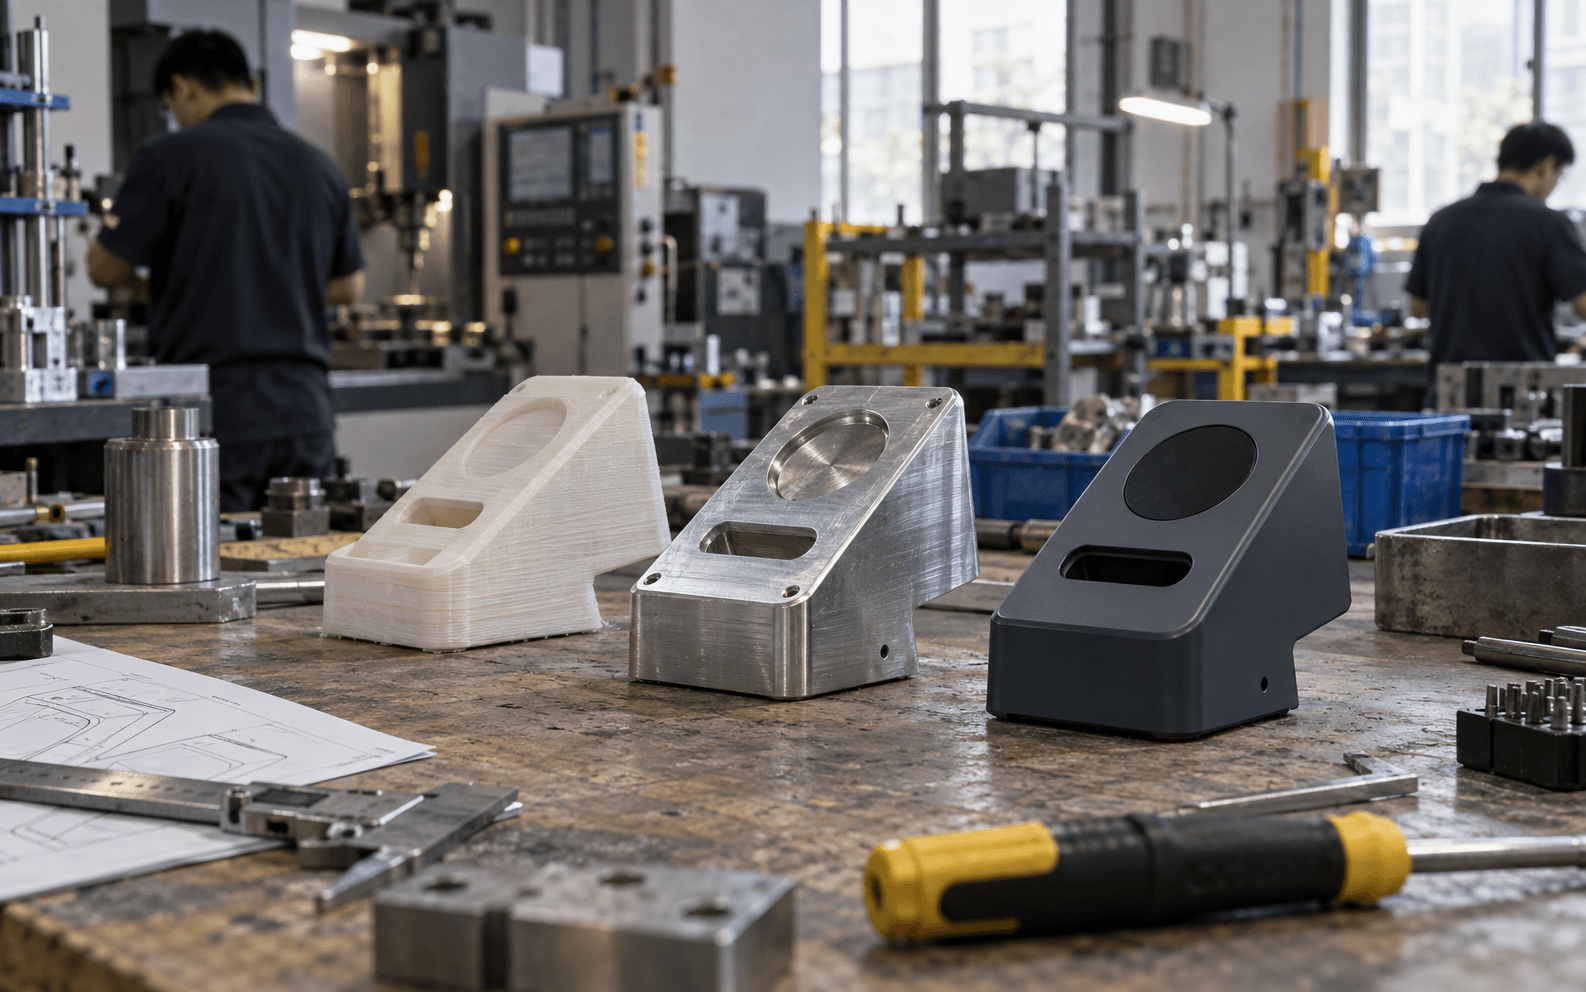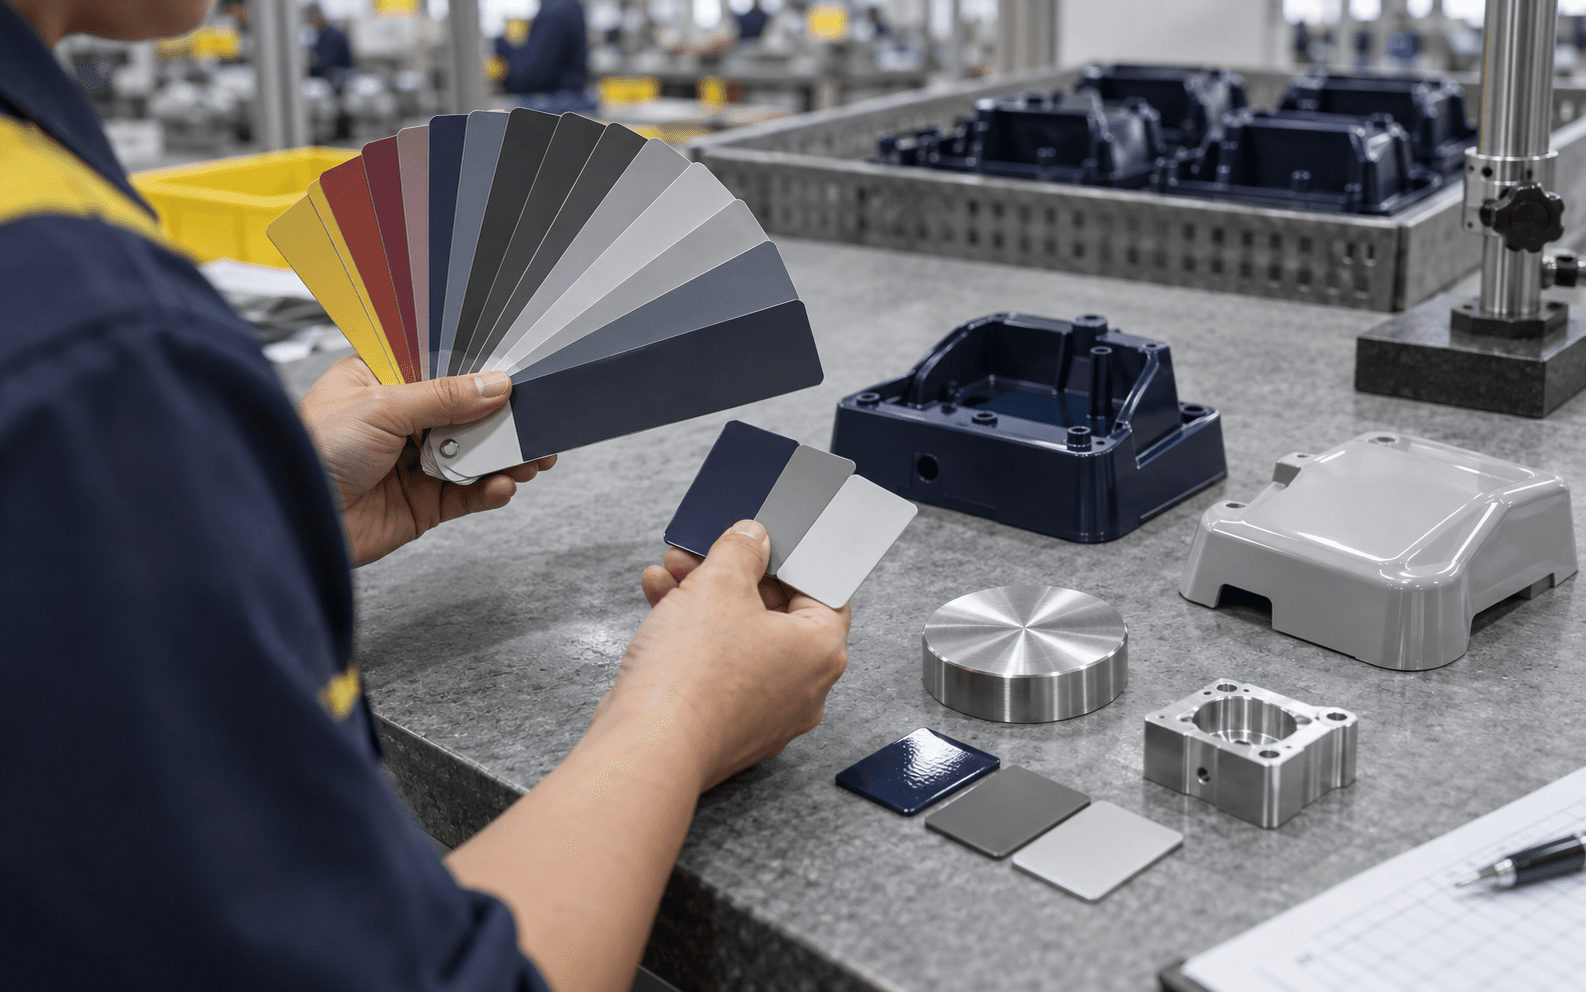
"Matte black" sounds clear. Then the samples arrive: one is a warm, slightly shiny black, one is a cold, chalky black, and neither matches the render you showed investors. Nobody did anything wrong. "Matte black" just wasn't a specification.
This guide shows how to describe colour and finish so that you and the factory mean the same thing. It applies to painted, powder-coated, anodized and molded parts.
New to finishes? Start with What is anodizing? and Anodizing vs powder coating vs painting.
Why words aren't enough
Colour is surprisingly slippery:
- Screens lie. Every monitor and phone shows colours differently. A colour from your render file isn't a physical target.
- Light changes colour. The same part can look different under office lights, daylight and a warm lamp.
- Material changes colour. The same pigment looks different on glossy plastic, textured plastic and bead-blasted aluminum.
- Process changes colour. Anodizing dye, powder and liquid paint all behave differently, even when aiming for "the same" colour.
So a good specification has four parts: colour, gloss, texture, and how it will be checked.
1. Colour: use a code and a physical sample
Colour systems are numbered colour charts that both sides can buy and hold:
- Pantone: widely used for paint, printing and plastic colours. Give the exact code, including the suffix (for example, "C" for coated paper), because the same number can look different across Pantone books.
- RAL: a standard chart common for powder coating and industrial paint. Powder suppliers often stock RAL colours.
A code is a good start, but the safest target is a physical sample: a colour chip, a painted plaque, or a part you already like. Send two identical samples and keep one yourself. Then you're both comparing against the same object.
For anodizing, colour codes are only approximate, because the dye sits in a metallic surface. Expect to approve colour from real anodized samples of your actual alloy.
2. Gloss: how shiny
Gloss is how much light the surface reflects like a mirror. It's measured with a gloss meter in gloss units (GU), usually at a 60° angle. You don't need to own a meter, but writing a gloss range removes a lot of argument.
Common words, from least to most shiny: matte (flat), satin (eggshell), semi-gloss, gloss. These words mean different things to different people, so pair them with a sample or a GU range your supplier agrees they can measure.
3. Texture: how it feels and scatters light
Texture changes both feel and colour. Common ways to specify it:
- Molded plastic: texture is etched into the mold steel. In Chinese this is 咬花 (yǎo huā). Standard references include VDI 3400 (a numbered scale from fine to coarse, e.g. "VDI 24") and Mold-Tech texture codes. Polished, glossy molded surfaces are often specified with SPI grades (A1 is the most polished).
- Metal: bead blasting (喷砂) gives an even matte texture; brushing gives fine straight lines; polishing gives shine. Name the process and, if you can, the blasting media or grit your supplier proposes.
- Coatings: powder coats come in smooth, sand and wrinkle textures; paints come in matte, gloss and soft-touch.
Ask for a texture plaque (a small sample plate) before committing, especially for molds, because changing a mold texture later means re-etching steel.
4. How it will be checked
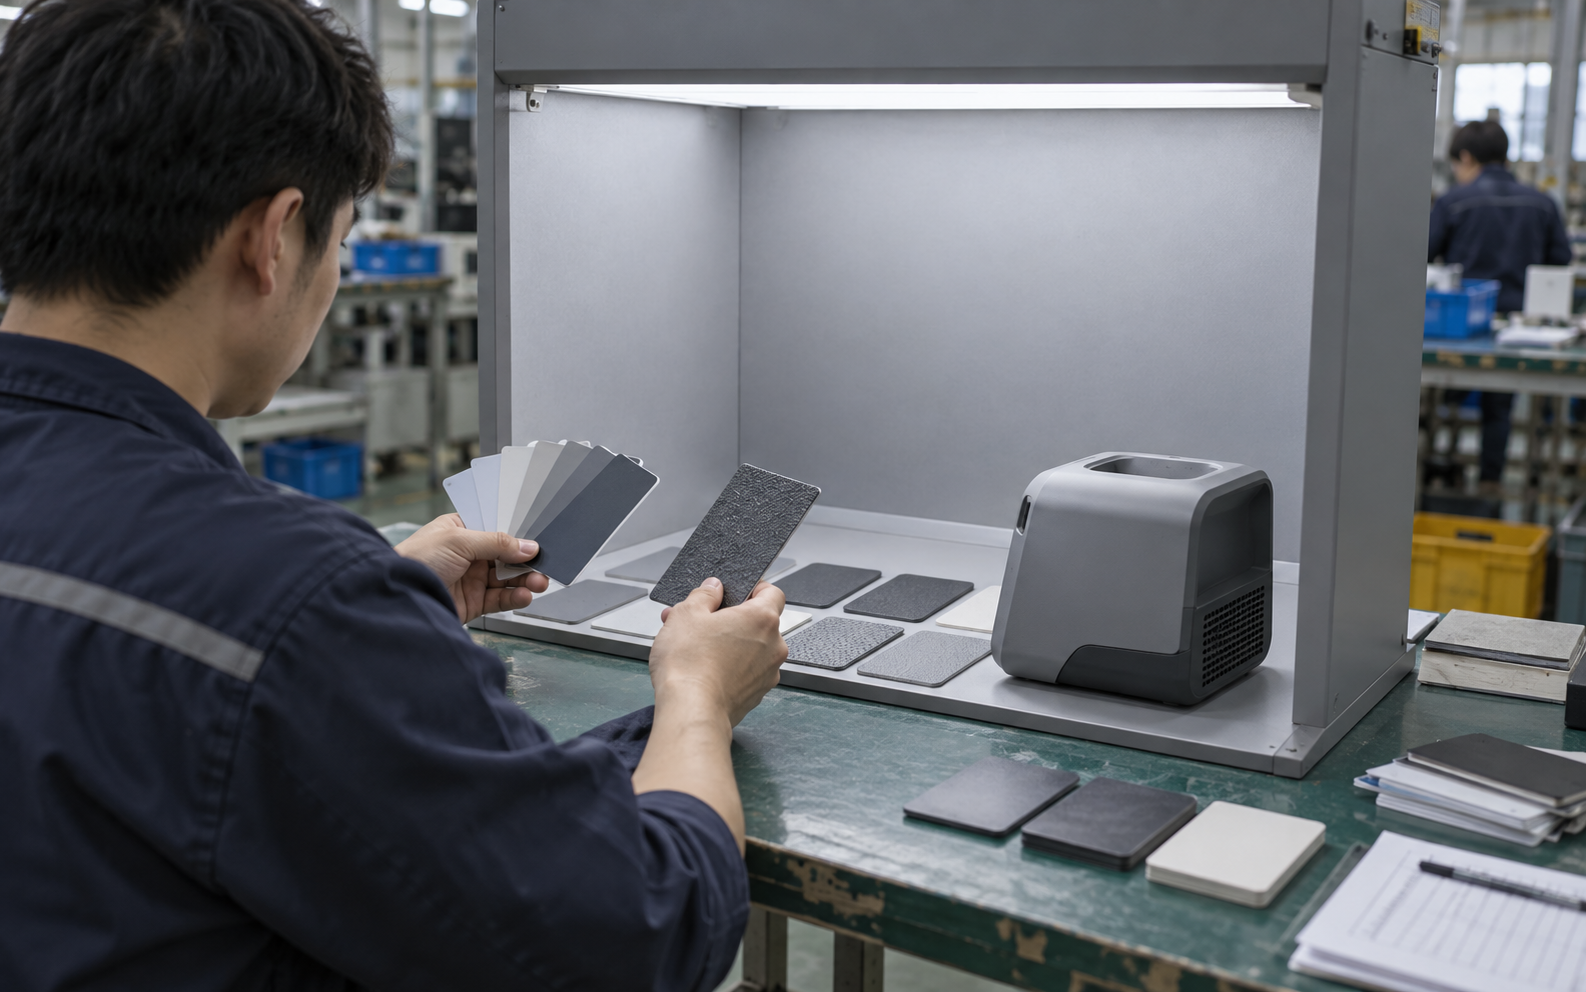
This is the part first-timers skip, and it's where most disputes start. Agree in writing:
- Lighting. Many factories use a light booth, a grey cabinet with standard light sources. Standard daylight is often called D65. Agree which light the parts are judged under.
- Colour tolerance. Colour difference can be measured with an instrument and expressed as ΔE ("delta E"): a single number for how far a colour is from the target. A smaller number means a closer match. Ask your supplier what ΔE they can hold for your process, and agree it before production.
- Cosmetic surfaces. Label each surface A (seen by the user all the time, e.g. the front), B (seen sometimes, e.g. the sides) and C (rarely seen, e.g. inside or the base). Allow fewer marks on A surfaces.
- Viewing rules. A common approach is to inspect at a set distance (roughly arm's length) for a few seconds; a defect you can't see under those conditions is accepted. Write down the distance and time you agree on.
5. Approve a master sample
Once you're happy with a sample, sign it and date it. This becomes the golden sample (金样, jīn yàng): the physical reference for every future batch. The factory keeps one, you keep one. The act of signing off a sample is called 签样 (qiān yàng).
If colour matters a lot, also approve limit samples: one slightly too light and one slightly too dark that are still acceptable. They show inspectors where the boundary is.
A simple finish spec you can copy
Put this in your drawing notes or RFQ, one block per part:
Part: Top cover, P/N 1001 Material: 6061-T6 aluminum Finish: Bead blast (fine) + Type II anodize, black Colour target: Signed sample CS-01 (one kept by each side) Gloss: Matte, to match CS-01 Cosmetic class: Top face A, sides B, underside C Masking: Ground pad on underside, see drawing detail B Logo: Laser engraved, see artwork file Inspection: D65 light booth, at an agreed distance and time
Logos and markings
Logos and text are usually added after the main finish:
- Silk-screen / pad printing (丝印): ink printed on the surface. Specify the Pantone colour and position.
- Laser engraving (镭雕): a laser removes or changes the top layer. On black anodized aluminum it reveals a lighter mark. No ink to wear off.
Send logos as vector files (for example AI, PDF or DXF), with the size and position on a drawing.
Keep reading
- What is anodizing? (pillar)
- Anodizing vs powder coating vs painting
- Design rules for injection-molded parts
- Quality inspection explained
Next steps
- Read the surface finishing hub
- Find surface finishing shops
- See the Quality stage of the Path
- Not sure where to start? Get an intro
Updated 29 September 2026